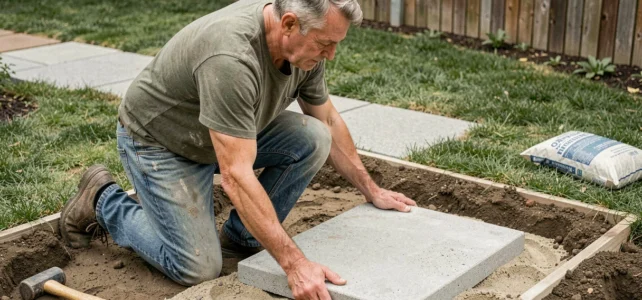
A garden path made of slabs is not just about laying tiles on the ground. The durability of the result depends almost entirely on what happens beneath the surface: the type of soil, site preparation, and drainage. Neglecting these steps results in slabs that shift, lift during frost, or turn into a skating rink after every downpour.
Permeable slabs and rainwater regulations: a choice that matters in the PLU
Before even choosing a material, check what your municipality requires. Since 2023, more and more PLUs and rain zoning regulations require a minimum percentage of permeable surfaces on private lots.
Specifically, cellular slabs or permeable pavers are rated higher in the coefficients for permeable surfaces than asphalt or mortar-jointed slabs. In a recent subdivision, opting for a path made of traditional slabs laid on a concrete slab may put you in violation without you knowing.
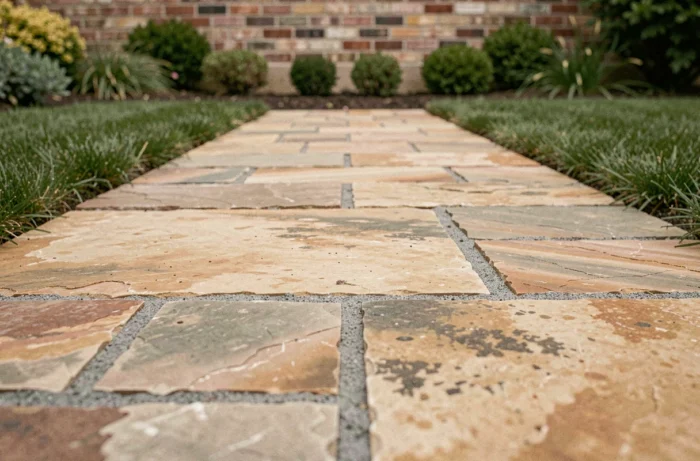
If you plan to create a garden path with slabs in an area covered by rain zoning, choosing slabs with grass joints or cellular structures filled with gravel becomes a regulatory advantage as well as an aesthetic one.
Have you noticed those paths that turn green between the joints? It’s not a maintenance flaw. It’s often a deliberate choice that allows water to infiltrate instead of running off to the roadway.
Foundation and bedding: the invisible part that makes everything last
The majority of paths that deform within a few seasons suffer from the same problem: a bedding that is too thin or poorly compacted soil. The slab itself, whether made of reconstituted stone or concrete, withstands the weather very well. It’s the support that gives way.
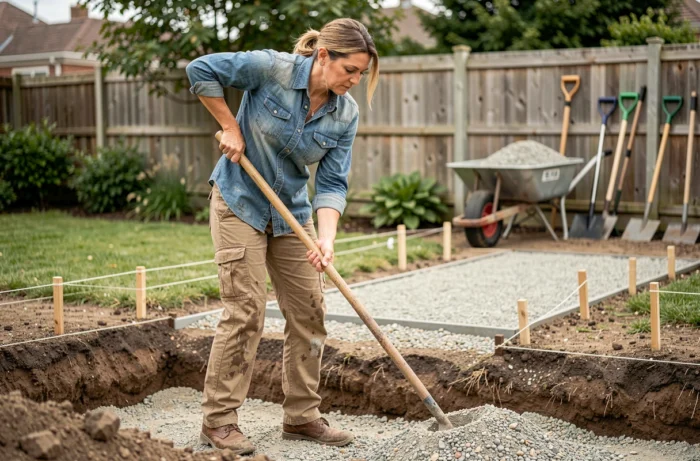
Excavate according to the nature of the soil
Clay soil and sandy soil are not prepared in the same way. Clay retains water and swells in frost, which lifts the slabs. Sand, on the other hand, settles unevenly under loads.
- On clay soil, plan for a thicker foundation layer of compacted fill to absorb ground movements.
- On sandy or loamy soil, a geotextile placed between the natural soil and the foundation layer prevents material mixing and stabilizes the whole.
- On rocky soil, the excavation is shallower, but hollows must be filled with stabilized sand to achieve a regular base.
Why does this step matter so much? Because the slab only transmits the load to the ground. If the ground moves, the slab follows.
Stabilized sand rather than just sand
A bedding of pure sand digs under repeated traffic. Stabilized sand (a mixture of sand and binder) provides a rigid base while remaining permeable. It also limits the growth of weeds between the joints, a recurring problem on paths laid on traditional sand.
Slope and water drainage: the detail everyone underestimates
A perfectly flat path is a path that retains water. A lateral slope of about two centimeters per meter is enough to direct runoff towards a flowerbed, a grass border, or a drain.
If your path leads towards the house and slopes in that direction, you create a natural funnel towards the foundations. This is the most problematic and common scenario. The solution is to place a drain across the path before the door threshold, with an outlet towards a catch basin or a drainage area.
For vehicle-accessible paths made of slabs, the slope must also support the weight of a vehicle without water pooling in the ruts. Cellular slabs filled with gravel handle this case well: water passes through the surface instead of running off.
Path borders: containing without rigidifying
Borders are not decorative. They prevent the slabs from sliding laterally due to traffic and temperature variations. Without borders, the slabs gradually separate and the joints empty.
Several options work depending on the desired style:
- Buried concrete borders are the most stable for a vehicle-accessible path, but they create an impermeable barrier on the sides.
- Thin metal borders (corten steel, aluminum) are suitable for pedestrian paths and remain discreet in a contemporary garden.
- Treated wooden borders are economical, but their lifespan is limited in wet soils.
- The absence of a visible border is possible with slabs set in a band of compacted gravel, provided the bedding is wide enough to compensate.
The choice of border also depends on water management. A solid concrete border redirects runoff towards the center of the path. A perforated border or lateral gravel encourages infiltration, which remains consistent with current rain zoning requirements.
Maintenance of a slab path: what preserves stability
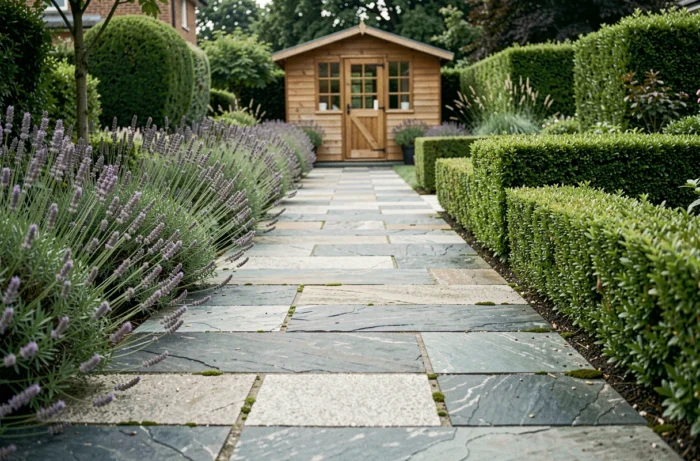
The pressure washer is the enemy of joints. Used too often or too close to the surface, it dislodges the sand between the slabs and weakens the entire structure. A broom and a bit of soapy water are enough for common dirt.
Moss and lichens mainly appear on shaded and poorly ventilated paths. Rather than treating chemically, improve drainage and sunlight around the path by trimming the plants that overshadow it.
The joints should be refilled every two to three years on sand-jointed paths. Also, check that the drainage slope remains functional: localized settling creates a puddle that accelerates the degradation of the bedding underneath.
A well-founded and properly drained slab path requires very little maintenance over the years. The initial effort in soil preparation and slope management remains the best investment to avoid costly repairs.